Meta Pixel Setup Guide (2026): Complete Step-by-Step Tutorial for Better Tracking & Higher Conversions
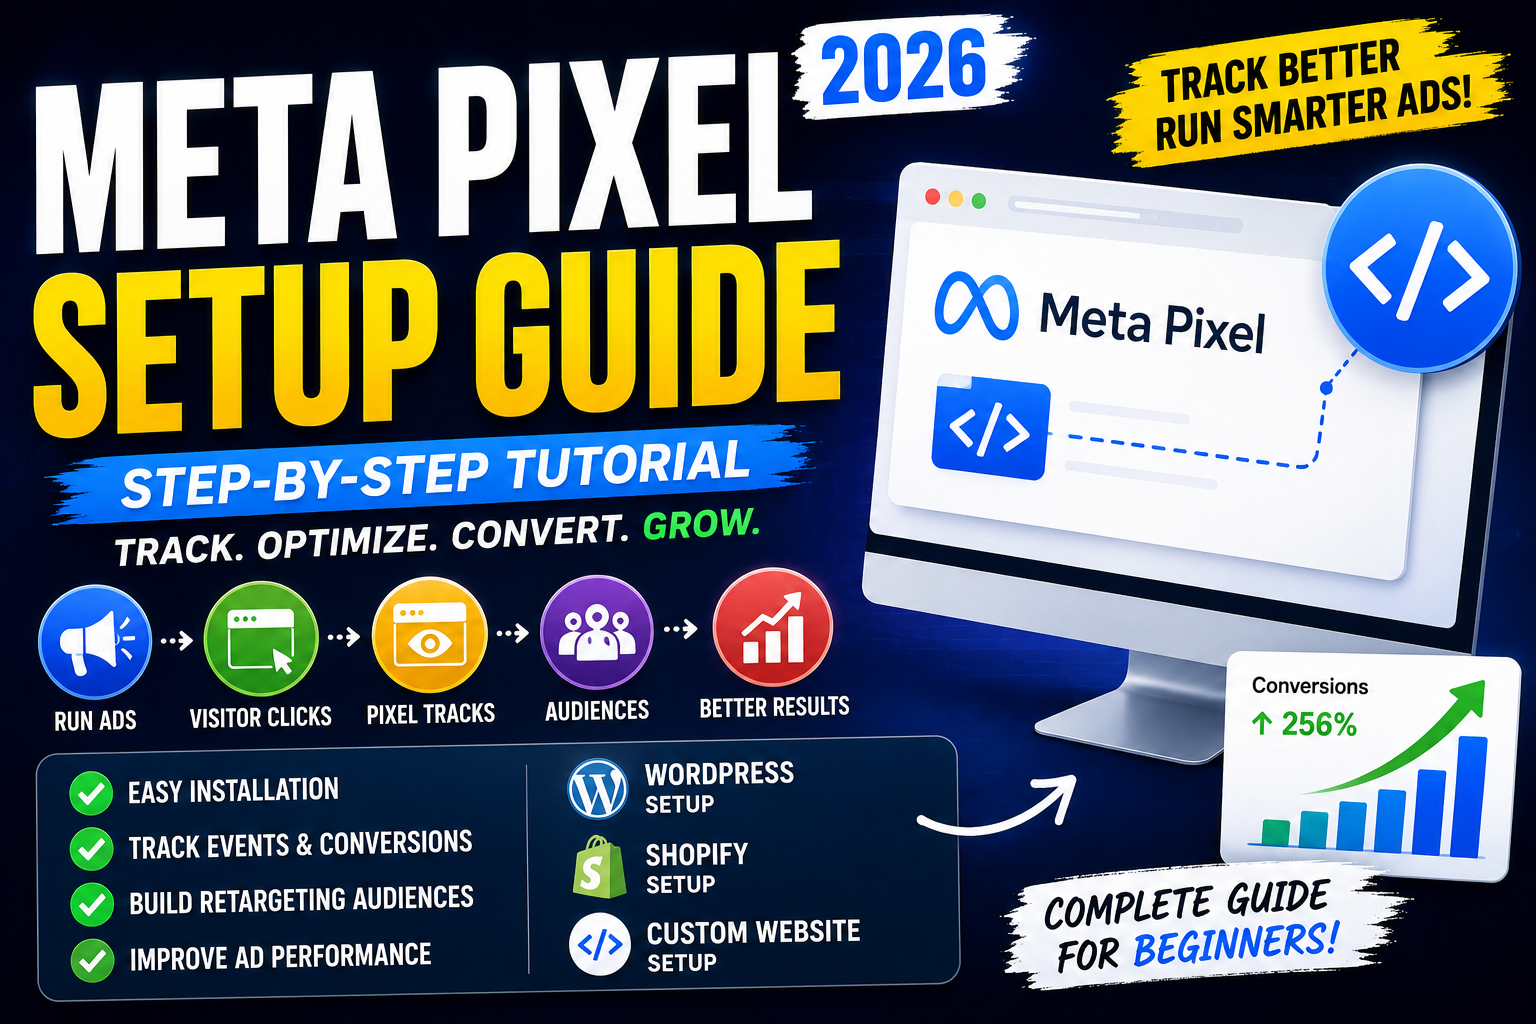
Meta Pixel Setup Guide (2026): Everything You Need to Know
Imagine launching a Meta Ads campaign that gets thousands of visitors but leaves you wondering, "Which ads actually generated sales?"
Without proper tracking, you're spending money without knowing what's working.
This is where Meta Pixel becomes one of the most valuable tools in digital marketing.
Meta Pixel helps you understand what users do after clicking your Facebook or Instagram ads. Whether they purchase a product, submit a form, sign up for a newsletter, or simply browse your website, the Pixel records these actions and helps optimize future campaigns.
If you're serious about improving your advertising performance in 2026, learning Meta Pixel is no longer optional—it's essential.
In this complete guide, you'll learn what Meta Pixel is, why it's important, how to install it on different platforms, how to verify it, common mistakes to avoid, and best practices for maximizing your return on ad spend (ROAS).
Table of Contents
What is Meta Pixel?
Why Meta Pixel Matters
How Meta Pixel Works
Benefits of Meta Pixel
Requirements Before Setup
How to Create a Meta Pixel
Install Meta Pixel on WordPress
Install Meta Pixel on Shopify
Install Meta Pixel on Custom HTML Websites
Verify Pixel Installation
Standard Events Explained
Custom Conversions
Conversion API (CAPI)
Testing Your Pixel
Common Setup Mistakes
Best Practices
Frequently Asked Questions
Final Thoughts
What is Meta Pixel?
Meta Pixel is a JavaScript tracking code provided by Meta that you install on your website.
It records visitor actions and sends that data back to your Meta Ads account, allowing you to:
Measure conversions
Optimize campaigns
Build remarketing audiences
Improve ad delivery
Track purchases and leads
Understand customer behavior
Think of Meta Pixel as the bridge between your website and your advertising campaigns.
Why Meta Pixel Is Important
Without Meta Pixel, Meta Ads only knows when someone clicks your advertisement.
With Meta Pixel, you can see:
Which visitors purchased a product
Which users filled out a contact form
Which pages received the most traffic
Which campaigns generated revenue
Which audience converted best
This data helps Meta deliver your ads to people who are more likely to complete your desired action.
How Meta Pixel Works
The process is simple:
A user sees your Facebook or Instagram ad.
They click the ad.
They visit your website.
Meta Pixel loads in the background.
User actions such as page views, purchases, or form submissions are recorded.
The information is reported inside Meta Ads Manager.
This feedback loop enables better optimization over time.
Benefits of Meta Pixel
Using Meta Pixel provides several advantages:
Accurate conversion tracking
Better campaign optimization
Improved audience targeting
Dynamic remarketing
Enhanced reporting
More efficient budget allocation
Higher Return on Ad Spend (ROAS)
Requirements Before Setting Up Meta Pixel
Before you begin, ensure you have:
A Meta Business account
Access to Meta Ads Manager
A website (WordPress, Shopify, Wix, Blogger, or custom HTML)
Permission to edit your site's code or install plugins
Step 1: Create a Meta Pixel
Log in to your Meta Business account.
Open Events Manager.
Click Connect Data Sources.
Select Web.
Choose Meta Pixel.
Enter a Pixel name.
Add your website URL (optional).
Click Create.
Your Pixel is now ready for installation.
Step 2: Install Meta Pixel on WordPress
Method 1: Official Integration
Connect your Meta Business account through supported integrations if available.
Follow the setup wizard to link your Pixel.
Method 2: Manual Installation
Copy the Meta Pixel base code.
Paste it inside the
<head>section of your website.Save the changes.
Publish your site.
Step 3: Install Meta Pixel on Shopify
Log in to Shopify.
Open Settings.
Navigate to the relevant sales channel or customer events section (depending on your Shopify version).
Connect your Meta account.
Select your Pixel.
Save your settings.
Shopify will help send website events to Meta.
Step 4: Install Meta Pixel on a Custom HTML Website
If you built your website using HTML, CSS, and JavaScript:
Copy the Pixel base code.
Paste it immediately before the closing
</head>tag on every page.Upload the updated files to your hosting provider.
Step 5: Verify Pixel Installation
After installation:
Visit your website.
Check that page visits are being detected in your Meta events dashboard.
Trigger a few test actions, such as visiting pages or submitting a test form, and confirm that events appear.
If events don't appear, review your installation and event configuration.
Standard Events You Should Track
Meta provides predefined events for common user actions.
Examples include:
PageView
ViewContent
Search
AddToCart
InitiateCheckout
AddPaymentInfo
Purchase
Lead
CompleteRegistration
Contact
Using standard events helps Meta optimize campaigns more effectively.
Custom Conversions
Custom conversions allow you to define business-specific goals based on rules such as:
Thank-you pages
Form completion pages
Product categories
Booking confirmations
They help measure actions that are important to your business.
Understanding Conversion API (CAPI)
Browser-based tracking alone may not capture every event.
The Conversion API sends relevant event data directly from your server to Meta, which can improve measurement reliability.
For many businesses, using Meta Pixel together with the Conversion API provides a more complete view of campaign performance.
Test Before Launching Ads
Always test your implementation before spending money on advertising.
Verify:
Page views
Button clicks
Form submissions
Purchases
Checkout events
Fix any issues before launching campaigns.
Common Meta Pixel Mistakes
Avoid these common problems:
Installing multiple Pixels unintentionally
Missing important conversion events
Forgetting to verify installation
Not configuring conversion goals
Ignoring privacy and consent requirements
Failing to test after updates
Not using consistent event naming
Best Practices
Install one primary Pixel per website unless your setup requires otherwise.
Track meaningful business events.
Keep event implementation organized.
Test changes before publishing.
Review reporting regularly.
Pair Meta Pixel with Conversion API when appropriate.
Maintain clear privacy disclosures and consent practices where required.
Meta Pixel Setup Checklist
✅ Create a Meta Pixel
✅ Install the Pixel
✅ Verify installation
✅ Configure standard events
✅ Create custom conversions
✅ Test event tracking
✅ Review reporting
✅ Optimize campaigns using collected data
Frequently Asked Questions
Is Meta Pixel free?
Yes. Meta Pixel is available at no additional cost for eligible advertisers using Meta's advertising tools.
Can I install Meta Pixel on WordPress?
Yes. You can use supported integrations or install the Pixel manually.
Does Meta Pixel work with Shopify?
Yes. Shopify provides integration options that make connecting Meta Pixel straightforward.
Do I need coding knowledge?
Not necessarily. Many website platforms offer guided integrations, though manual installation may require basic HTML knowledge.
What is the difference between Meta Pixel and Conversion API?
Meta Pixel collects browser-based events, while Conversion API sends event information directly from the server. Together, they can improve measurement quality.
Final Thoughts
Meta Pixel is one of the most important tools for anyone running Facebook or Instagram advertising. By accurately tracking user actions, measuring conversions, and helping optimize ad delivery, it enables smarter decisions and more efficient use of advertising budgets.
Whether you're a freelancer, agency, ecommerce store owner, or local business, taking the time to set up Meta Pixel correctly lays the foundation for better reporting, stronger remarketing, and improved campaign performance.